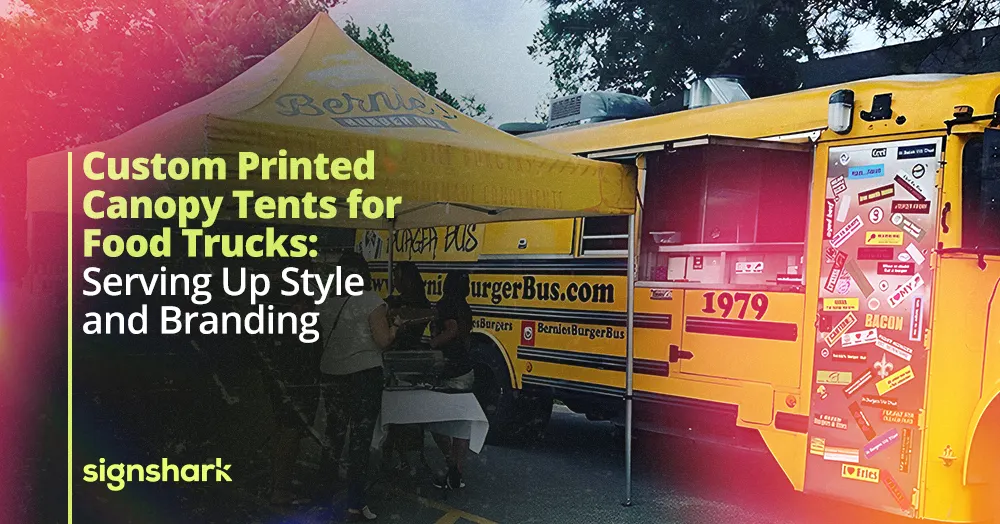
A good tent setup can directly impact how successful your sales will be at outdoor events. Most food vendors use 10x10 or 10x15 custom canopy tents because they give enough room for cooking, serving, and storing supplies. When your tent looks professional with bright branding, customers notice you first and walk over to check out your food.
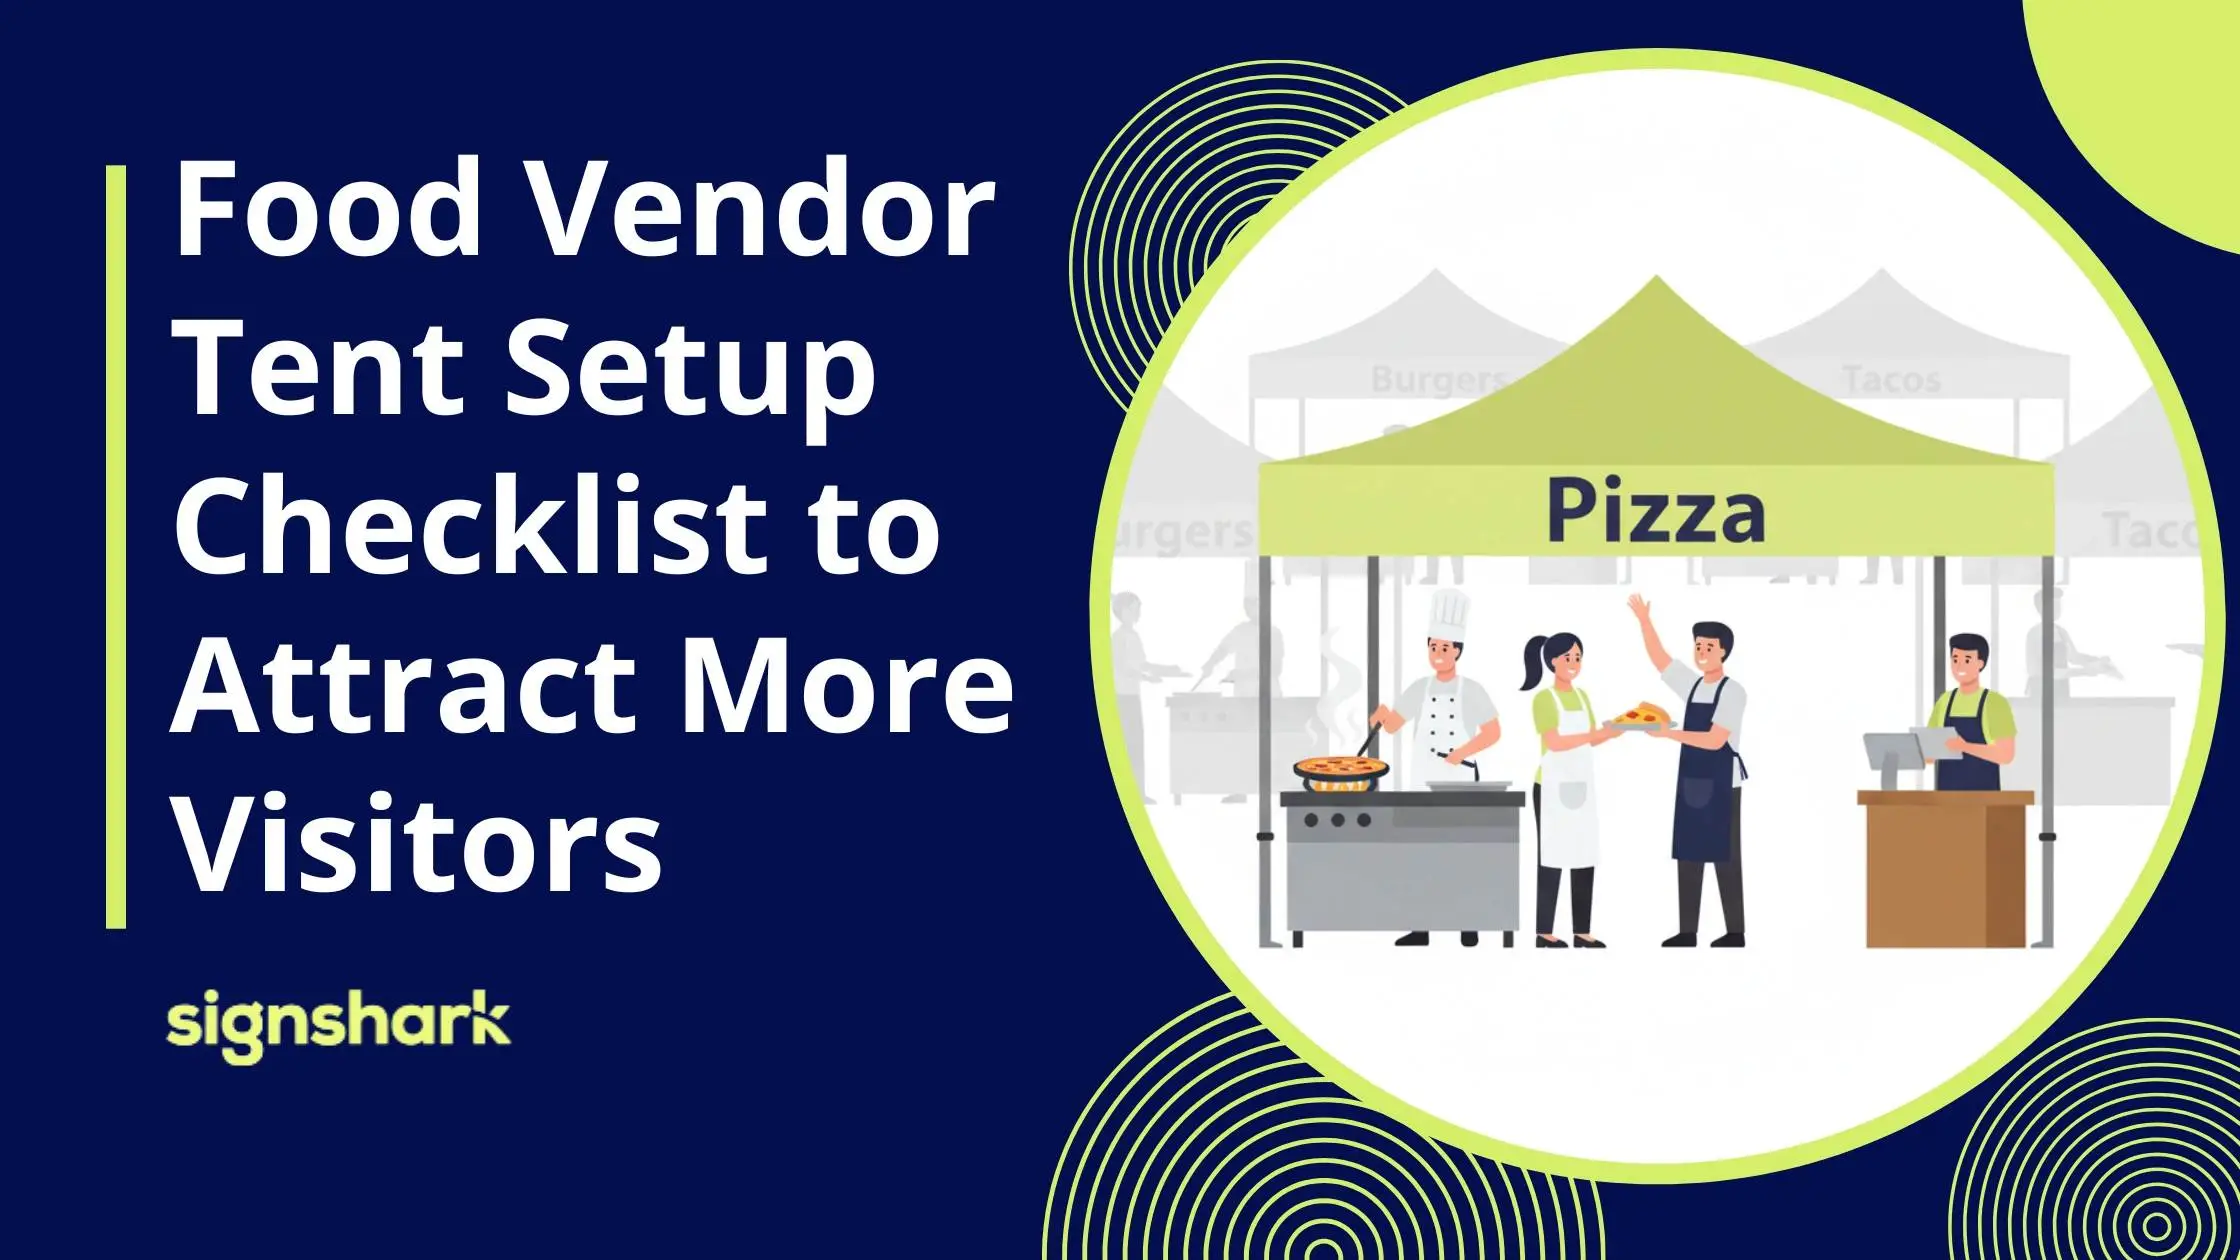
This guide shows you everything about setting up your food vendor tent the right way. You'll lean how to prepare before the event, set up quickly on event day, and use simple tricks to bring more visitors to your booth. We'll talk about where to put your tent, what safety rules to follow, how to add branding, and ways to make people stop at your tent instead of walking past it.
Food Vendor Pre-Event Planning Checklist
Planning before event day helps you carry out the event smoothly and gives your customers a smooth experience. Good planning ahead of time helps you sell more and makes setup much easier.
Selecting the Right Tent Location
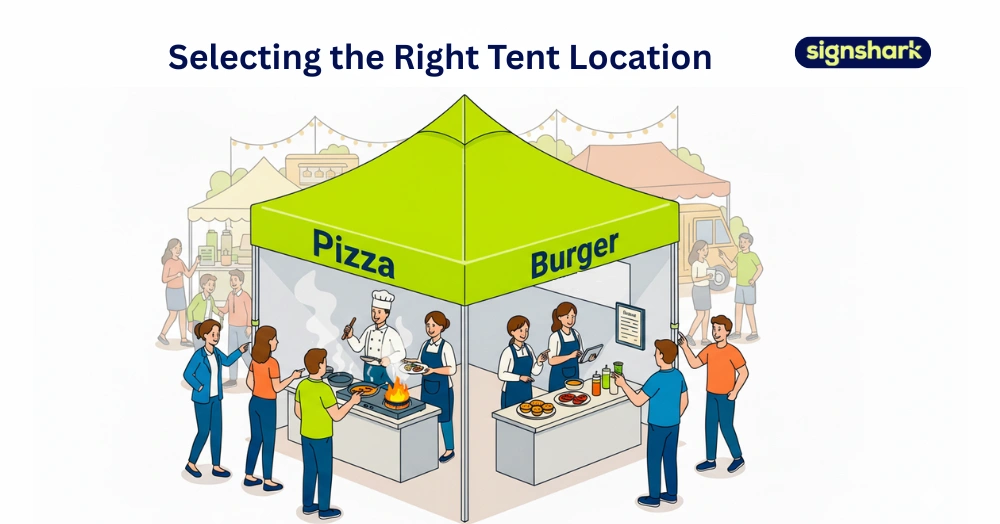
Selecting the right tent location is key to attracting more customers. A corner spot works best because people can see your booth from two directions. Your location also decides how much space you’ll have for cooking, serving, and displaying. Once you know your spot, you can plan the right tent size and add flags or banners for better visibility.
Choosing the Right Tent Size
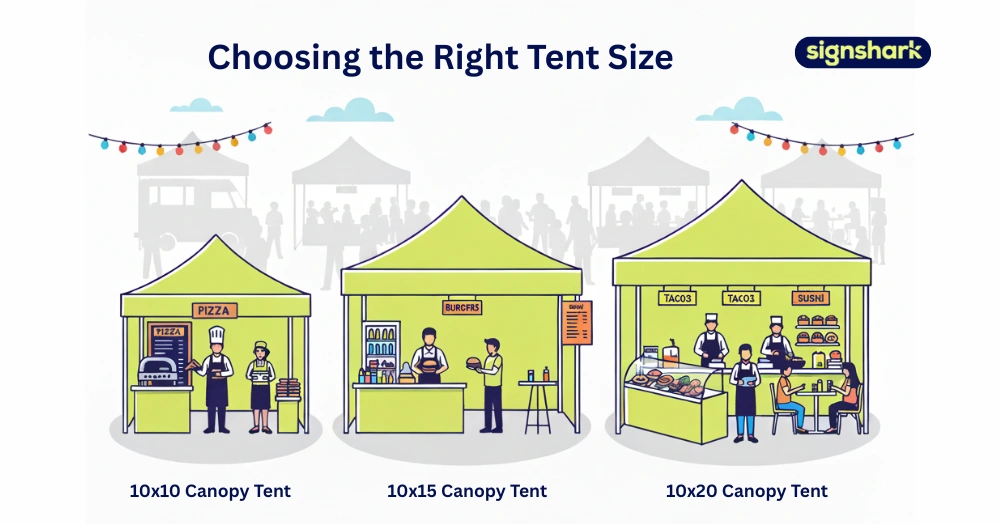
Selecting the right canopy tent size for your food vending setup ensures you have space to cook, serve, and welcome customers comfortably. For smaller operations with 1–2 people and a limited menu, a 10x10 canopy tent works well. A 10x15 canopy setup gives you extra room for serving and storage. If you run a full kitchen with a big menu and queue space, go for a 10x20 canopy tent.
Following Event Safety Rules
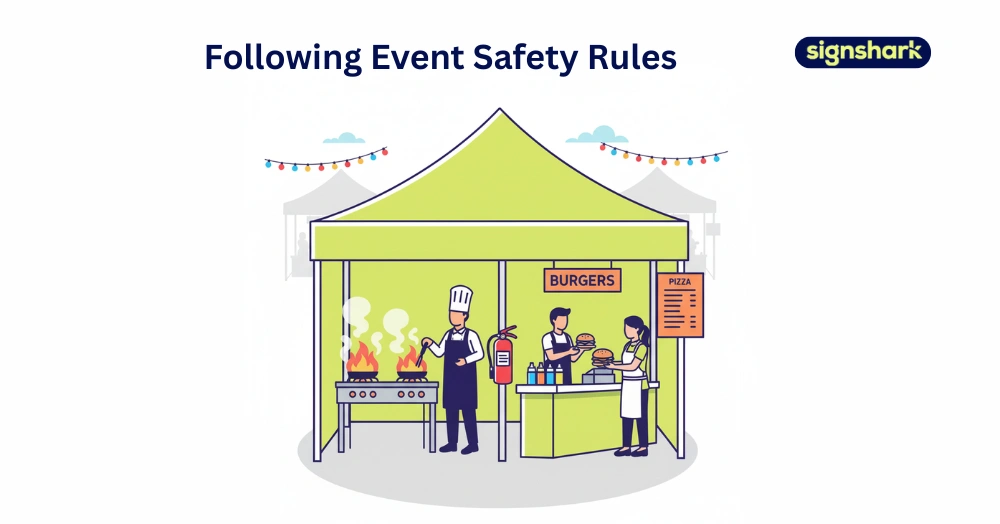
Following event safety rules keeps you, your staff, and your customers safe. Always purchase a fire-resistant canopy tent with CPAI-84 or NFPA 701 certifications. If you're cooking inside, keep fire extinguishers nearby and make sure air flows properly. Set up electrical cords and generators away from walkways where people walk. Check all local health and fire rules before the event so you don't get fines or shut down.
Planning the Tent Layout
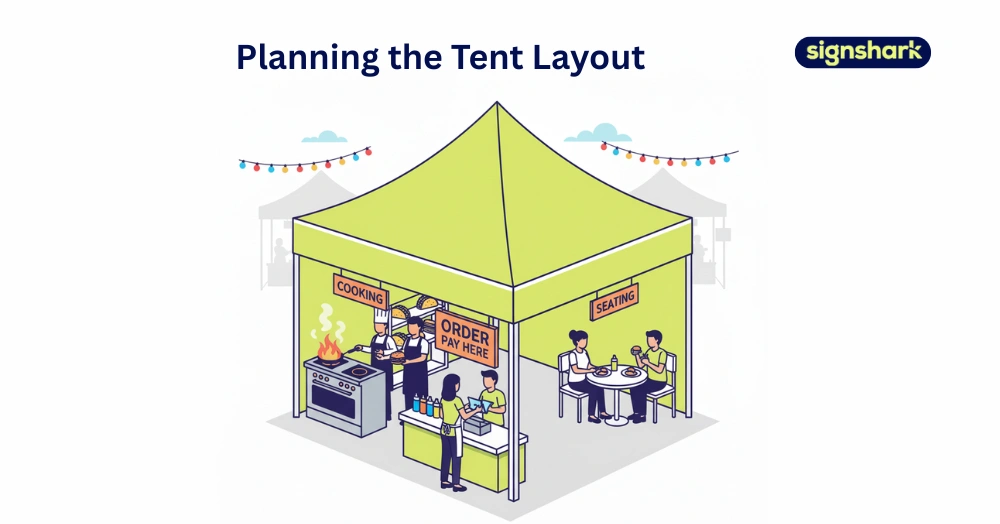
A well-planned tent layout makes your workflow smooth and keeps customers happy. Arrange your prep area, cooking stations, and serving counter in a logical order. Create a clear entry and exit for customer flow, and mark a queue line if needed. Place menu boards and food displays where they are easy to see. Leave enough space for staff to move and store supplies efficiently.
Food Vendor Event Day Checklist
Event day is here, and it’s time to put your planning into action. Following a clear setup checklist ensures your tent is organized, safe, and ready to serve customers efficiently.
Setting up the Canopy at the Right Place
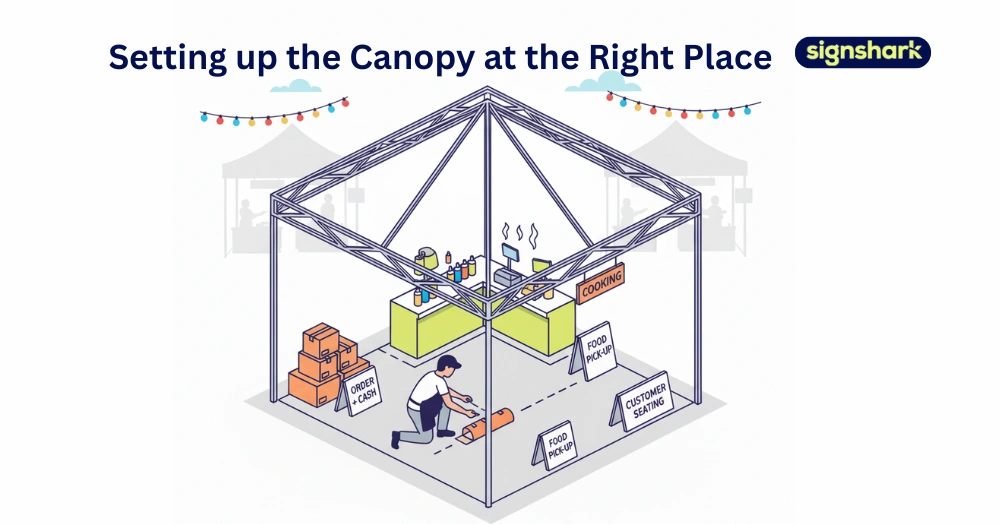
Arrive at your assigned spot early to give yourself plenty of time to set up the tent. Make sure the ground is level and clear of rocks or debris that could damage your tent. Check the sun direction for shade and wind direction for stability. Secure the tent with weights or stakes to keep it safe throughout the event.
Set up Counters and Banner Signage
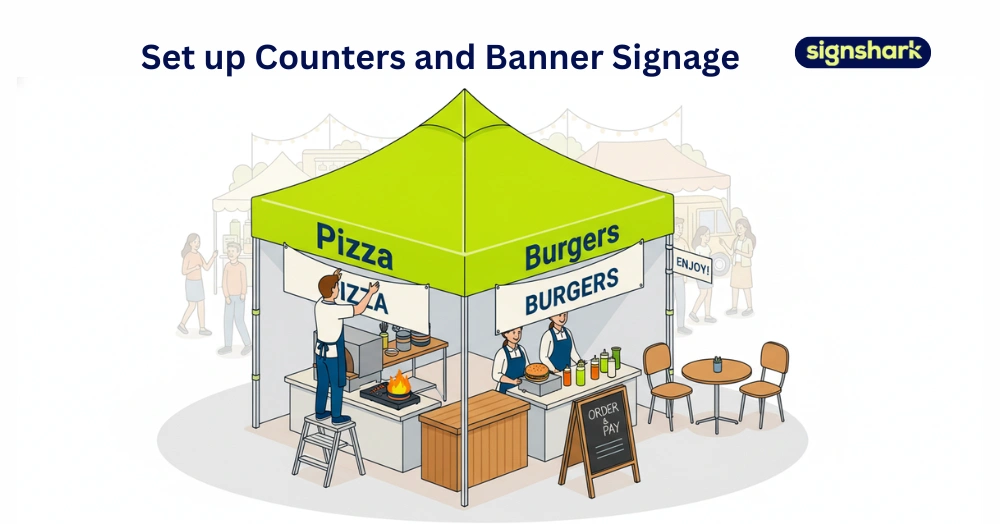
After setting up the tent, place your serving counter at the front so customers can reach it easily. Hang menu boards at eye level and display banners on the tent’s valance or back wall. Add branded flags or signs at the corners to attract attention from multiple directions. Arrange food displays or warmers for easy visibility, and make sure all pricing is clear from a distance.
Securing the Tent for Weather Protection
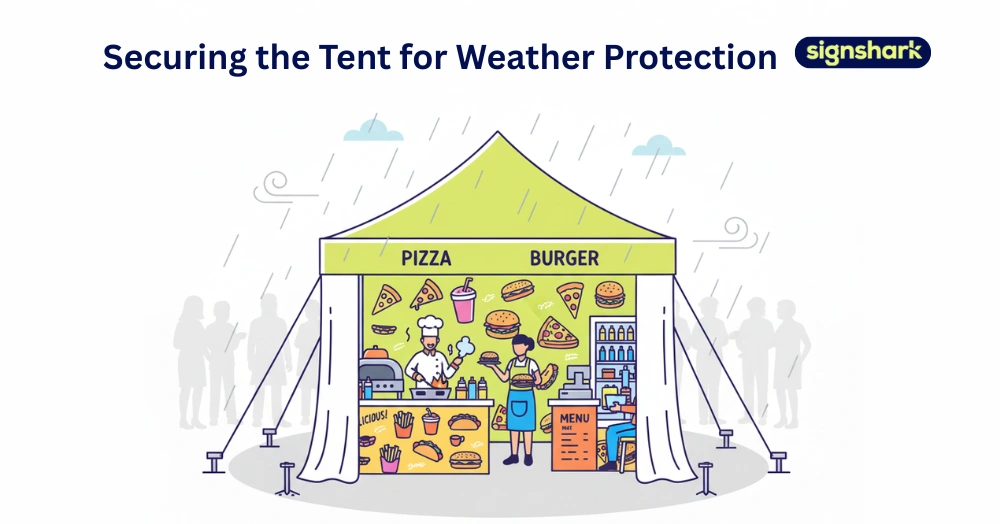
The final step is making sure your tent stays still during wind, rain, or quick weather shifts. Attach weight bags of at least 40 pounds to each tent leg, and add stakes into the ground. Add sidewalls for extra cover and tie down any banners or signs that might blow away. Once everything is in place, double-check that the tent and equipment are stable and ready for use.
Tips to Attract More Visitors to Your Food Tent

With your tent fully set up, it’s time to focus on attracting customers. These simple strategies help your food tent stand out, draw more foot traffic, and boost sales throughout the event.
Customize Your Canopy Tent
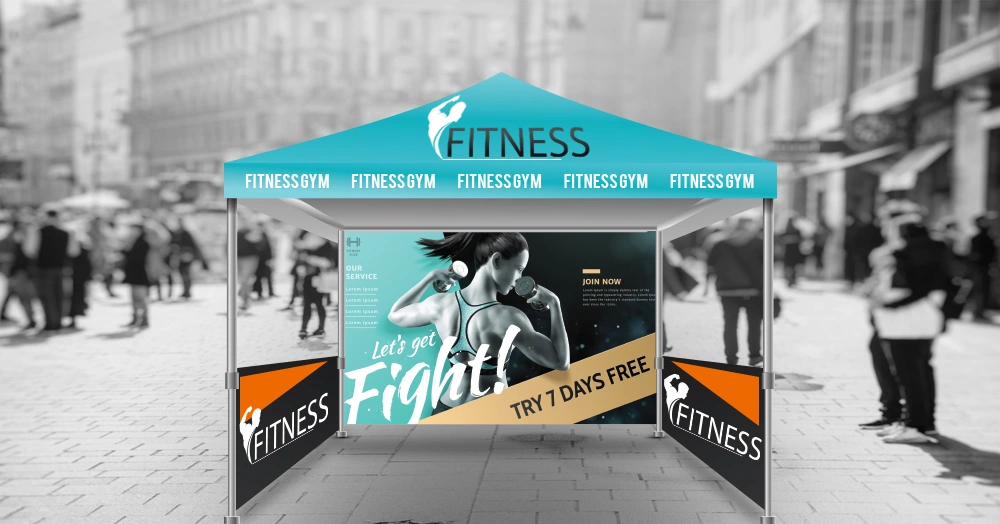
A canopy tent designed with your logo and brand colors helps your booth stand out in busy events. Include appealing images of your signature dishes to catch the eye of passersby. A well-designed, professional-looking tent draws more visitors, boosts brand recognition, and makes your food stall memorable at every event.
Adding Branded Signage & Banners
Use clear, eye-catching signage to guide customers to your food tent. Place menu boards and price signs where they’re easy to read from a distance. Add banners to promote top deals, combo offers, or newly launched products. Consider A-frame signs or flags at nearby walkways to attract more foot traffic. Multiple signs from different angles increase visibility and attract more customers.
Using Bright Lighting For Impact
Bright lighting makes your food tent more inviting, especially during evening or cloudy events. Highlight menu boards, food displays, and serving areas with LED or hanging lights. Warm white lighting makes food look fresh and appetizing. Use battery-powered or generator-compatible lights to ensure safety and flexibility.
Offering Free Samples or Tastings
Giving out free samples brings crowds to your tent and gets people excited about your food. When customers taste your food first, they feel more confident buying a full portion. Small samples of your best dishes work better than random items. Hand out samples during slow periods to create buzz and draw attention. People who try your food often tell their friends, which brings even more customers your way.
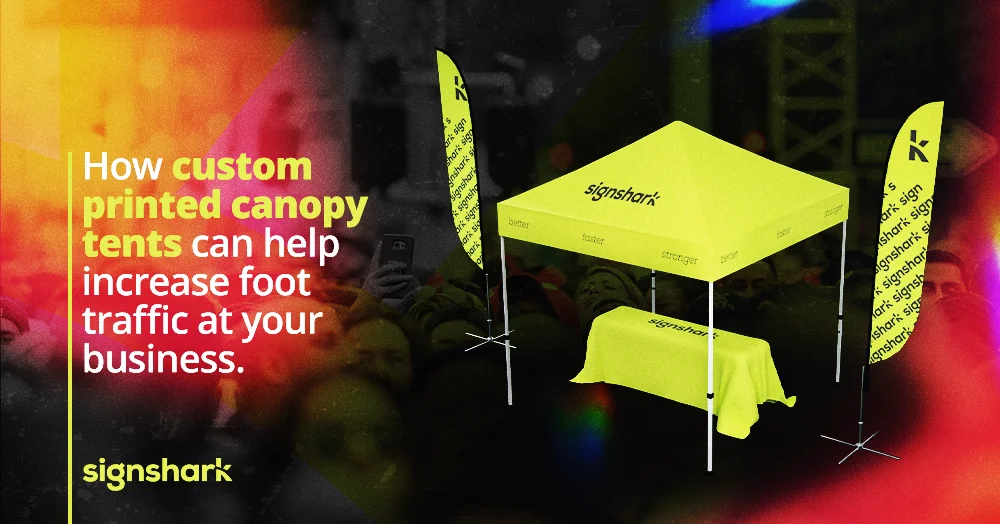
Why Choose Sign Shark for Your Food Vendor Tent?
Setting up a successful food vendor tent takes careful planning, smart setup choices, and eye-catching branding. Following the right steps, from picking the right location to adding bright signage, helps you attract more customers, keep operations safe, and create a professional, memorable booth. The difference between a busy booth and an empty one often comes down to how well you prepare and present your tent. Every detail matters when you're competing for attention at busy events.
At Sign Shark, we know what food vendors need to stand out and succeed. Our custom canopy tents are made from durable fire-resistant materials that meet safety standards and are built to handle tough weather like rain, snow, wind, and sun. We offer a variety of customization options, including full-color printing for logos and appetizing food images, to make your booth look professional and inviting. With free design support and fast shipping, you’ll be ready for your next event. Whether you need a 10x10 for a small setup or a 10x20 for a full kitchen, Sign Shark has the right size to help your food business stand out.
FAQs on Food Vendor Tent Setup
Here are answers to some of the most common questions food vendors ask about choosing, setting up, and customizing their canopy tents for successful events.
How to Decorate Your Food Vendor Tent?
You can decorate your food vendor tent by using colorful banners, flags, and signs that match your brand and menu. Include banners of delicious food, add bright lights, and arrange your displays neatly to make your tent inviting and easy for customers to notice.
Can I Customize My Tent With Food Images?
Yes, at Sign Shark, you can fully customize your canopy tent to match your brand. Add your logo, tagline, and colorful graphics, including appetizing food images. Our edge-to-edge printing ensures your design looks vibrant and professional, helping your food booth stand out at every event.
Can I use the Same Canopy Tent for Multiple Events?
Yes, you can use the same canopy tent for multiple events. Sign Shark canopies are made from durable, weather-resistant materials that protect against UV rays, sun exposure, rain, and snow. This ensures your tent lasts longer and keeps your brand looking professional at every event.
How Long Does it Take to Set Up the Canopy?
Setting up a canopy usually takes 15–20 minutes, depending on its size. Sign Shark tents are made from premium quality, lightweight materials, making them easy to transport, assemble, and dismantle. This helps you save time and focus on serving customers.
How Soon Can I receive My Custom Canopy Tent?
Your custom canopy tent usually arrives within 2-10 days, depending on your order and customization details. Sign Shark offers fast and free shipping so you get your tent quickly before your next event.